
Best Time to Arrive for Sunset Photography: A 90-Minute Timeline
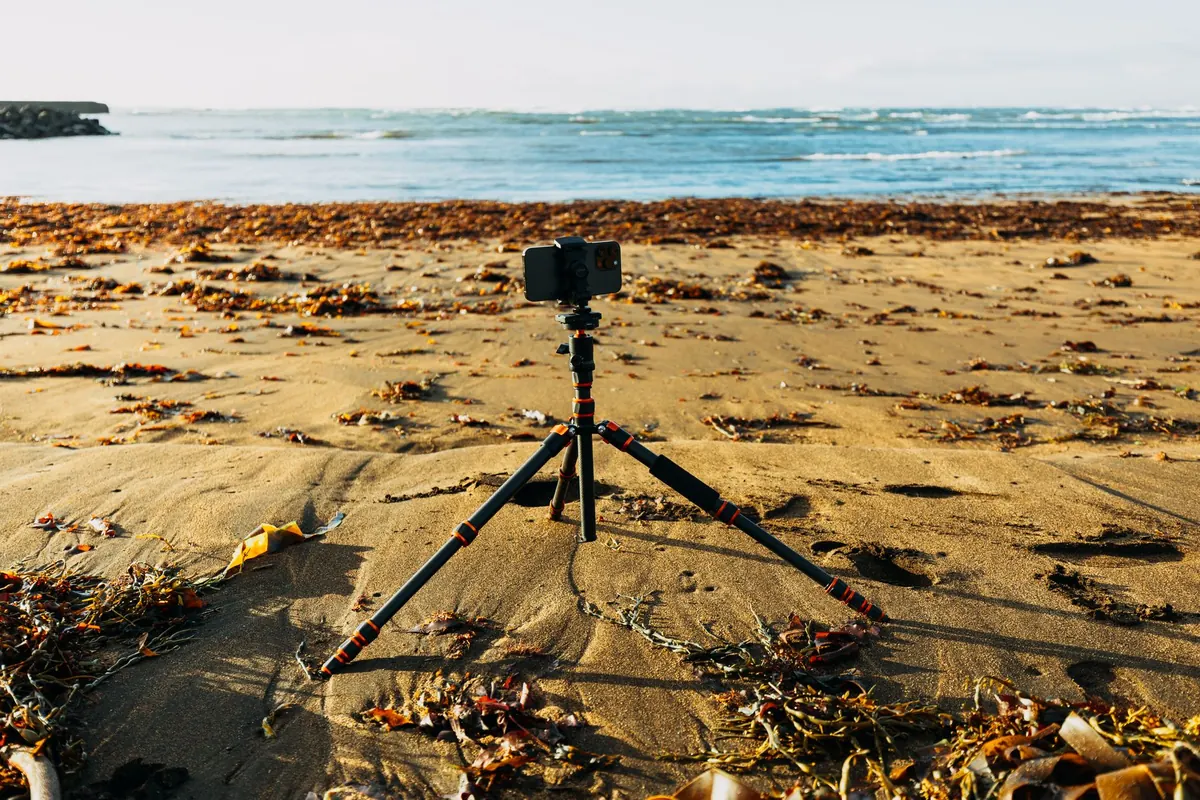
Sunset is the appointment. Arriving at sunset is how you miss it. Anyone who has photographed seriously for a season knows the pattern: you show up twenty minutes early, find a spot, wrestle the tripod out of the bag, and by the time you lift the camera the light you came for has already moved on. The photograph you had in mind was there ten minutes ago, and it was better.
Ninety minutes is the honest amount of time a good sunset frame requires — sixty before, thirty after, with a little flexibility at both ends. Here is how to spend them.
Why Ninety Minutes, and Not Twenty
Sunset isn't a moment. It's a slow transition with four distinct stages: the still-warm light of late afternoon, the golden hour when the sun rakes across texture and turns dust into something visible, the few minutes of direct sun at the horizon, and the afterglow — often the most saturated light of the whole evening, and the part most photographers miss because they've already packed up.
Each stage wants a slightly different exposure, composition, sometimes a different lens. You cannot make those decisions in the four minutes between arriving and shooting. The buffer exists to absorb the ordinary friction of photography: the walk from the car, the forgotten step-up ring, the stranger who parks himself exactly where your foreground rock used to be.
One more thing: sunset time is a moving target. It shifts by a minute or two each day, and the useful light depends on latitude, season, cloud cover and terrain. Check the actual time for your location and date with a sun-position app rather than trusting the number on a weather site.
T-90 to T-60: Scout With Your Feet
Park, walk, look. This is the least photographic and most valuable part of the evening, and it should happen while there's still enough light to see the ground clearly.
- Walk the whole foreground. Find the puddles, cracks, rocks and grass that could anchor the bottom of the frame.
- Check the horizon in the direction of the sun. A ridge or treeline that looks harmless now can swallow the last twenty minutes of light.
- Confirm your feet. Sand, wet rock, mud and tidelines change compositions; check tide tables and closing times where they apply.
- Turn around. The view behind you takes the anti-solar light — pink and orange on rock faces and clouds opposite the sun — and it is often stronger than the sunset itself.
- Mark two or three candidate positions so you have a fallback if someone sets up in front of the best one.
Use the compass in a sun app to see exactly where the sun will meet the horizon. It is rarely where beginners expect, and adjusting a hundred meters left or right now costs nothing.
T-60 to T-45: Commit to a Frame
By now you should stop wandering and choose. One primary composition is enough; two is generous. Standing in three places and shooting all of them is how you end up with three weak frames instead of one good one.
Decide the focal length deliberately. A wide lens gives you sky, scale and a foreground that has to work hard to justify its place. A short telephoto — 70mm to 200mm — compresses distance and makes the sun look larger against a ridge or a treeline. If the sun is your subject, reach for the long lens. If the landscape is the subject, go wide and find something in the foreground to hold the bottom third together.
T-45 to T-30: Set Up, Then Stop Fiddling
Setup done early is setup you don't have to think about when your hands are cold and the color is peaking.
- Plant the tripod low and wide for stability, and level the head so your horizon is straight without cropping later.
- Switch to manual focus and use live view magnification on a high-contrast edge at the distance you care about. Autofocus in near-darkness is a guess.
- Set aperture around f/8 to f/11, base ISO, and RAW. Check how stabilization and long-exposure noise reduction should behave with the camera on a tripod.
- Decide how you'll handle the brightness range: a graduated ND filter, exposure bracketing for later blending, or a single frame with the sky protected. Pick one now, not at T-5.
- Clean the front element, check battery and card, and attach a remote release or set a two-second delay.
Then make a test frame, read the histogram, and resist the urge to shoot forty more of the same thing. The light hasn't arrived yet.
T-30 to T-0: The Approach
Now the light starts to pay you back. Shadows lengthen, color temperature drops, and texture in grass, stone and water suddenly reads. Expose for the brightest part of the sky you want to keep and let the foreground fall where it falls — or bracket if you need both. Clipping the sun itself is fine and often desirable; clipping a whole quadrant of sky is not.
Shoot moments rather than minutes. A bird crossing the disk, a wave breaking behind the rocks, a couple walking into the frame at the right distance. When the sun touches the horizon, work fast and deliberately. A small aperture can turn it into a clean starburst; if someone passes in front of it, that's the frame. Keep an eye on focus too — heat shimmer and shifting light can soften it without warning.
T-0 to T+30: Don't Pack Up
The sun has gone and most people leave. The next twenty minutes are the reason to stay.
After sunset the sky often deepens into its most saturated color, and the afterglow can outclass the sunset itself. Exposure times stretch into seconds, which is an opportunity: smooth water, streaking clouds, even color across the whole frame. Watch for the belt of Venus, the pinkish band rising opposite the sun, and for alpenglow on high ground.
For cityscapes, this is when lights come on while the sky still holds enough color to balance them. White balance matters here; a slightly cooler setting keeps the blue from going muddy, and shooting RAW leaves you room to decide later.
A Timeline to Keep in Your Head
Scout with sixty minutes to spare. Commit to a frame by forty-five. Be fully set up by thirty. Shoot hard from thirty minutes out through twenty minutes past the sun's disappearance, and stay for the blue if the sky is doing something interesting.
That's the whole trick. The photographers whose sunset work looks effortless are almost never working harder than you. They simply arrived before the light did, and stayed a little longer than everyone else.
Photo: Matheus Bertelli / Pexels