
Winter Sunset Photography: How to Handle Low Light, Cold, and Fast-Fading Color
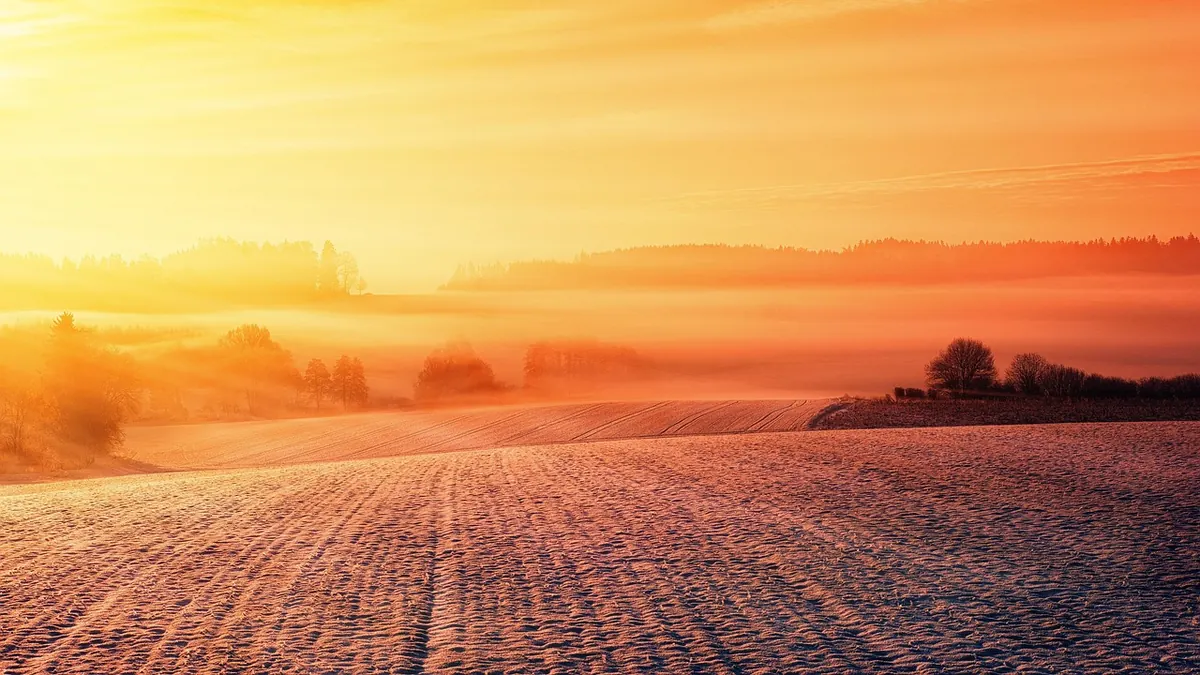
Winter asks more of a sunset photographer than any other season. The sun never climbs high, the afternoon turns gold by three o'clock, and the colour you came for can arrive and leave inside a quarter of an hour. Meanwhile your batteries sulk, your breath fogs the eyepiece, and your fingers stop cooperating with the small dials.
None of that is a reason to stay indoors. Cold, clear air tends to be clean air, snow bounces light back into places it never reaches in July, and the shadows stay long all day. You just have to work in a tighter rhythm, and do your preparing before the light starts doing its thing.
Why Winter Evenings Behave Differently
Start with the geometry. In the northern hemisphere the winter sun sets well south of west, so the gap between buildings or the notch in the treeline you used in June may be nowhere near where the light now lands. That alone justifies a scouting trip: stand at your chosen spot a day or two ahead, find the sunset point with a compass or a sun-position app, and check whether the foreground you want actually lines up with it. In the southern hemisphere the mirror is true — the sun sets further north than it does in summer.
The second difference is the air. Cold, dry air scatters less, so colour often reads deeper and cleaner than it does in summer haze. Clarity cuts both ways, though. A cloudless winter sky can flash a narrow band of orange and then slide into grey-blue in minutes, while a sky with broken cloud keeps the show going longer as light bounces off the undersides of the banks. Learn to read which kind of evening you have before you commit to a composition.
Then there is snow. A bright field of it works like a reflector the size of a football pitch, lifting shadows and filling in the front of your subject. It also fools your meter, which sees all that brightness and pulls the exposure down until the snow turns grey. Meter for the sky, then check the snow on the back of the camera before you trust the number.
Gear That Survives the Cold
Most winter failures are boring ones: a dead battery, a fogged front element, a tripod leg too cold to grip. Deal with them before you leave the house.
- Batteries. Cold cuts capacity sharply, and a camera that dies at 20 percent is a camera that misses the peak. Carry two spares in an inside pocket, keep the one in use warm, and rotate them. A battery that reads empty outdoors often recovers after twenty minutes next to your chest.
- Condensation. The real danger is coming back inside. Seal the camera in a zip bag before you open the door, and leave it in the bag for an hour while it warms. Wiping the sensor-side fog later is not an option.
- Tripod. Metal legs are brutal on bare hands and unpleasant against a cheek. Wrap the top section of each leg in pipe insulation or foam tape, and add a strip of tape around the collar so you can find it by feel in the dark.
- Gloves. A thin liner pair under flip-back mittens works better than thick gloves you have to remove. Set your dials and menus before the colour starts; you should not be hunting through a menu at the exact moment the sky turns.
- Lens hood and cloth. Your breath will fog the eyepiece and sometimes the front element. Breathe down and away, keep the hood on, and carry two microfibre cloths in a pocket rather than one in the bag.
- Headlamp. It is dark by half past four in December. A red-light setting saves your night vision and your companions' patience.
The Twenty Minutes That Matter
Because the good light is short, treat the shoot as a timed sequence rather than a wander. A rhythm that works:
- An hour before sunset. Arrive, walk the spot, and pick two compositions — one safe, one ambitious. Set the tripod up for the safe one.
- Forty minutes out. Level the camera, focus manually on the foreground, tape the focus ring if it drifts, and take a test frame to check the histogram.
- Twenty minutes out. The light turns gold and side-on. Shoot the raking shadows and texture now, while the contrast is manageable.
- Ten minutes out to sunset. Colour builds fast. Work the sky and the silhouette, and resist the urge to change position.
- Sunset plus ten to twenty minutes. The afterglow and the blue hour. This is where winter rewards patience and punishes anyone who packed up early.
Exposing Colour That Won't Sit Still
Shoot raw, and set white balance to Daylight and leave it there. Auto white balance will quietly rebalance every frame as the colour shifts, so a sequence that looked like a smooth progression of oranges comes home as a muddle of near-identical neutrals. A fixed setting keeps the warmth you actually saw, and you can adjust the whole set later.
Expose for the brightest part of the sky. Colour dies the moment it clips, so keep an eye on the histogram and the highlight warnings, and let the foreground sit a little dark — you can open it in post, but you cannot retrieve a blown band of orange. A typical starting point is ISO 100, f/8 to f/11, and whatever shutter speed the meter suggests; on a tripod, a quarter of a second is no problem at all.
When the scene spans more range than the sensor can hold — glowing sky above, snow or dark rock below — bracket three frames a stop or two apart and blend them later. If you use a polariser, watch the sky on wide lenses: the deepening effect is uneven across a wide field and can leave one corner looking bruised. It is often more useful pointed at wet rock or a frozen pond than at the sky itself.
Composition With a Low Sun
A sun that never rises high gives you long shadows all afternoon and a light source that stays close to the horizon, which is exactly what you want for silhouettes. Find a bare tree, a fence line, a figure walking a dog, and let the sky do the rest. Keep the bright band off-centre and give the empty sky some room; negative space reads as cold and calm in a way that busy frames never do.
Look down as well as up. Frost on grass, wind-carved snow, ice cracks and stubble all catch low light and turn into texture. A low camera position, tripod splayed wide, makes that texture lead the eye into the frame instead of sitting flat at the bottom of it.
Stay for the Afterglow
The richest colour of a winter evening is frequently not at sunset but ten or fifteen minutes after it, when the sun is below the horizon and the sky settles into rose, mauve and deep blue. The light is soft, the contrast drops, and the scene becomes easier to expose. Keep the tripod where it is, drop your shutter speed, and keep shooting until the last band of colour fades.
That is also your window for mixed light. Blue hour skies balance neatly against street lamps and lit windows, and exposures of a few seconds let you include both without the sky going black. Bring the ISO down, shoot a bracket, and be patient with passing cars.
A Short Routine to End On
Check the forecast and the sun position the night before. Charge everything and put the spares in your inside pocket. Arrive an hour early, set up one composition properly, and fix your white balance and focus before the light matters. Shoot the gold, then the peak, then stay put for the afterglow. Bag the camera before you go back inside, and let it warm up slowly.
Do that three or four times in a season and the cold stops being an obstacle. It becomes part of the craft — the reason the air is clear, the shadows are long, and the handful of frames you bring home look like the evening you actually stood in.
Photo: jplenio / Pixabay