
Sunset Photography Checklist for Beginners: 15 Shots to Capture Before the Light Fades
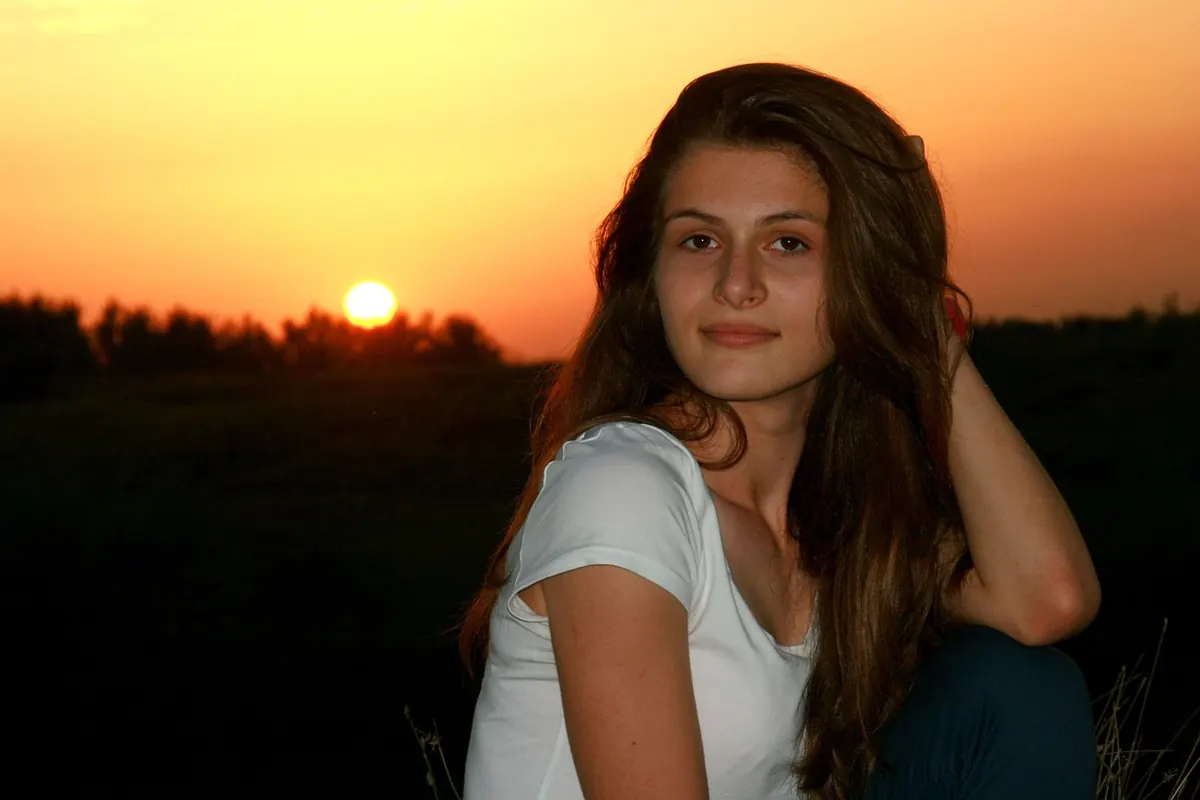
The sky does not wait while you swap lenses. Most beginners reach the viewpoint twenty minutes before sunset, fire off a dozen frames of the same horizon, then pack up and drive home just as the colour is getting interesting. A shot list solves that. Not because you have to tick every box, but because a sequence keeps your feet moving and your eyes off the back of the screen.
Here are fifteen frames, arranged roughly in the order the light offers them. Load the list on your phone, work through it loosely, and let the sky interrupt you whenever it wants to.
Set Up Before the Gold Arrives
Give yourself ten quiet minutes on location before the light turns. It is the cheapest investment in the whole shoot.
- Find where the sun will actually drop. A compass app or a glance at the map tells you more than guessing. Note the gap between trees or buildings where the disc will disappear.
- Choose a foreground now, not later. A path, a railing, a rock, a puddle. Something to stand on or look past.
- Set a starting exposure. ISO 100, f/8, aperture priority, RAW files if your camera allows. Turn the flash off. Clean the front element with your sleeve if you must.
- Decide your first horizon. Two-thirds sky for drama, two-thirds ground for place. You can change your mind, but start with intent.
Shots 1 to 5: Early Gold, About 40 to 25 Minutes Before Sunset
The light is still low-contrast and forgiving. This is where you build the frames that set up the story.
- 1. The wide establishing frame. Step back. Include more of the scene than feels comfortable, with a clean horizon and a clear foreground anchor. This is your reference shot and often the one you print.
- 2. The sun star. Stop down to f/11 or f/16 and tuck the sun behind a branch, a pole, or the edge of a wall. The flare spreads into rays. Check the frame on the screen, then move two steps and try again.
- 3. The long shadow. Put the light behind your subject and expose for the bright sky. Trees, fences, people, and dogs all stretch into shapes that read as silhouettes. Look down at the ground for shadows crossing the path in front of you.
- 4. The warm detail. Drop the big view for a moment. Grass heads, a stone wall, a bicycle, a sleeve catching the light. Side light does more for texture than any front light ever will.
- 5. The reflection. A puddle, a wet beach, a shop window, a car roof. Get low, close to the water or glass, and include both the reflected sky and a sliver of the real ground so the viewer knows what they are looking at.
Shots 6 to 10: The Main Event
Now the light moves fast, sometimes visibly. Work quickly and accept that half your frames will be experiments.
- 6. The sun as a disc. A telephoto lens at 200mm or more makes the sun large against the landscape, and haze near the horizon compresses everything into layers. Use live view rather than staring at the sun through an optical viewfinder, and never look at it directly through a long lens.
- 7. The silhouette portrait. Place your subject against the bright sky, expose for the sky, and ask them to hold a shape: a raised arm, a turned shoulder, a hand held out. Gesture reads better than a face in the dark.
- 8. The layered horizon. Ridges, rooftops, and islands stacked into bands of grey and gold. Longer focal lengths pull them together. A little haze is a gift here.
- 9. The cloud study. If there are clouds, they are the photograph. Meter on the brightest ones, check the histogram so the highlights are just short of clipping, and bracket a couple of frames if you are unsure.
- 10. The turn-around frame. Spin on your heels. The low sun lights the opposite side of the scene, and half the sky behind you is often the better half. This one shot fixes more dull sunsets than any filter.
Shots 11 to 15: Afterglow and Blue Hour
This is the part most people miss because they are already in the car. Stay. Put on a jacket if you need one.
- 11. The deepening sky. Five to twenty minutes after the sun disappears, colours often intensify rather than fade. Reshoot your establishing frame from the same spot; the comparison will surprise you.
- 12. The Belt of Venus. Look east, away from the sunset. A soft pink band above a darker blue-grey shadow is a real, repeatable phenomenon on clear evenings. A wide frame with a simple foreground is enough.
- 13. The first lights. Streetlamps, windows, a lit bridge. Balanced against a still-blue sky at ISO 200 to 400 and a shutter of one to four seconds, this gives you the classic dusk photograph.
- 14. The first star. Wait for the brightest point of light overhead. On a tripod, ten to twenty seconds at a moderate aperture is plenty. Keep the horizon in the frame so the star has somewhere to belong.
- 15. The last frame. Look down. Tripod legs, footprints in wet sand, your own shoes on the path. Warm, human, and a good way to end a series that has been looking up all evening.
Settings and Habits That Keep You Shooting
Protect the highlights. Sunsets are bright, and a white sky with no detail cannot be rescued. Watch the histogram: keep the right edge from clipping, and let the foreground go dark if that is the honest exposure. Bracket three frames one stop apart when the sky is doing something complicated.
Shoot RAW, set white balance to daylight rather than auto so colours stay consistent from frame to frame, turn off auto ISO while you are on a tripod, and switch to manual focus at or near infinity for wide landscapes. Wipe the front element the moment you see haze; warm light makes flare obvious, and a fingerprint will soften every remaining frame. Keep the screen dim and chimp less. Two quick checks after a shot are enough; the sky is not going to repeat itself.
Putting It Into Practice This Evening
Do not try to shoot all fifteen. Pick five that match your location and let the others happen if there is time. On your next evening out, aim for something like this: arrive forty minutes before sunset and shoot the wide frame, the sun star, and one detail; spend the last twenty minutes on the silhouette and the disc; stay fifteen minutes past sunset for the afterglow and the first lights.
Bring a tripod, a cloth, a small torch for the walk back, and one extra layer. Note the time of sunset in your phone and set an alarm for ten minutes after it as a reminder to stay. Above all, walk away with one frame you would show someone rather than a card full of near-identical skies. The list is just a route. The light decides the stops.
Photo: AdinaVoicu / Pixabay